Schedule a campaign on / off
Use the Target tab’s Schedule dimension to limit blocks to specific time windows — no need to manually monitor on / off.
1. Enter Target tab → Schedule
Section titled “1. Enter Target tab → Schedule”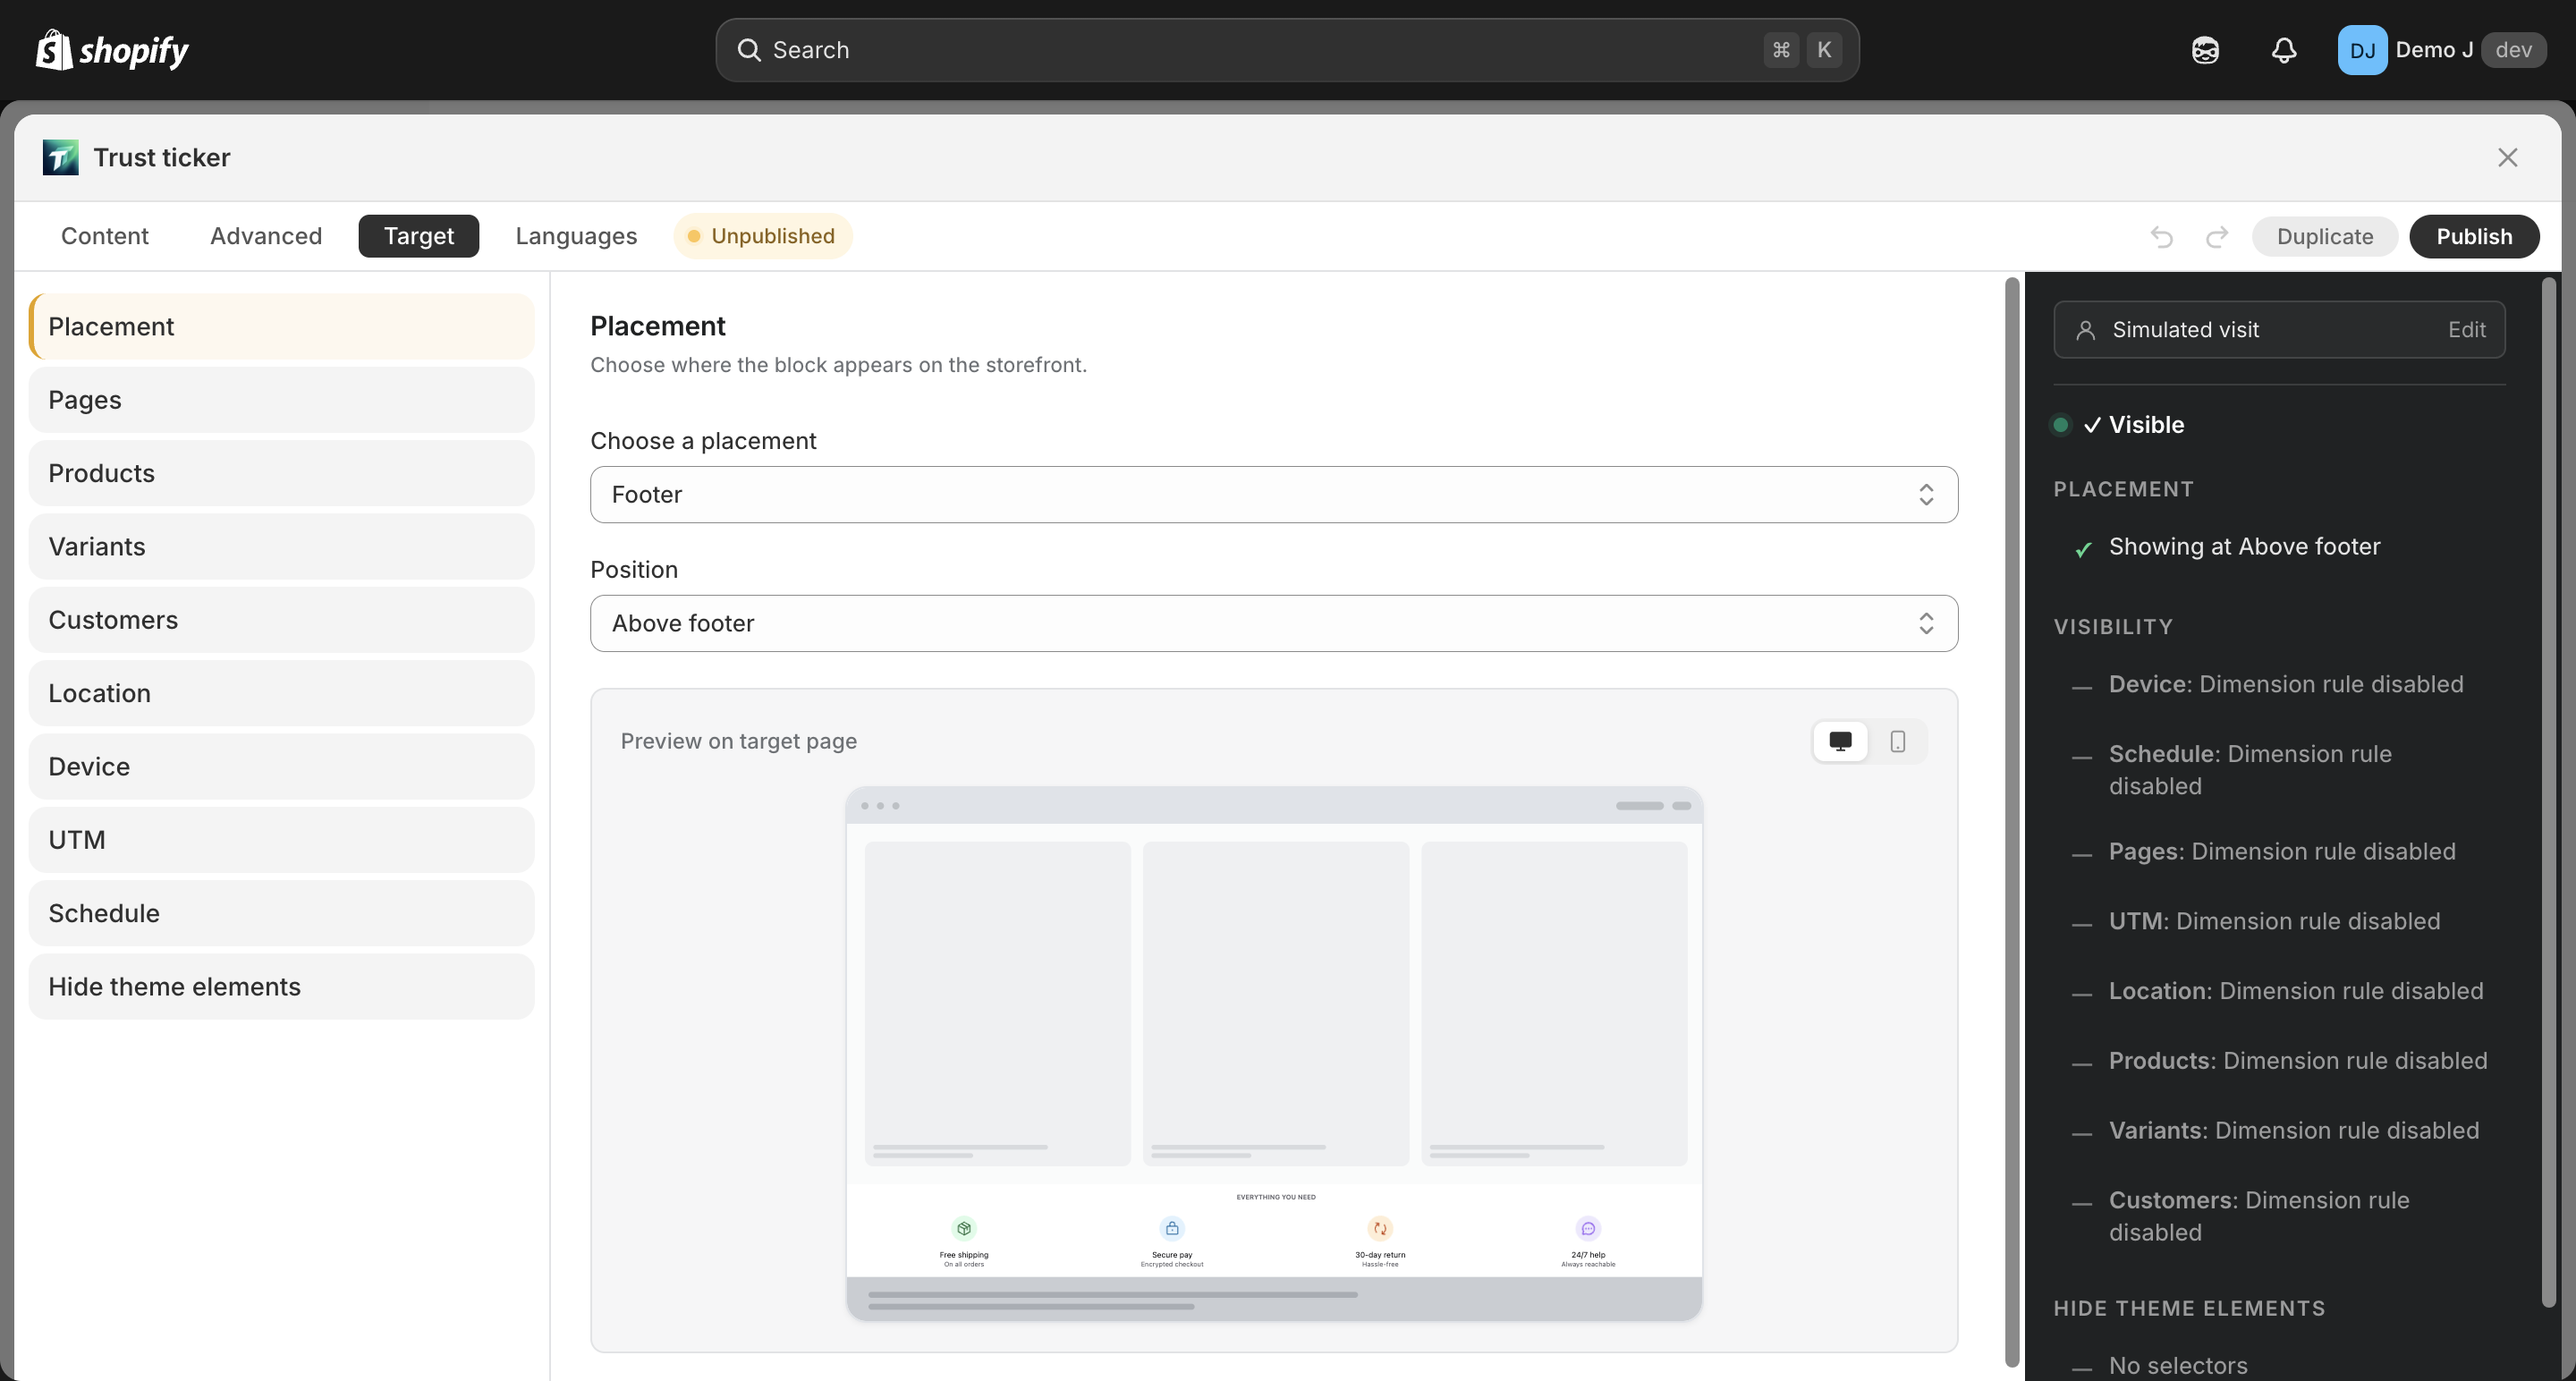
2. Set start time
Section titled “2. Set start time”- Now — visible immediately when published
- Specific time — pick date + 12-hour time (hour / minute / AM/PM)
3. Set end time
Section titled “3. Set end time”- Never — until manually unpublished
- Specific time — pick date + 12-hour time
4. Mind the timezone hint
Section titled “4. Mind the timezone hint”Bottom shows current timezone.
5. Verify
Section titled “5. Verify”Return to Block list and check status badge: before start time displays Scheduled, after end displays Expired.